Let’s talk about how we can build your commerce project — tailored to your business, powered by Rigby
Mercur.js is our limitless marketplace platform, which allows you to set up a multi-vendor marketplace in under 10 minutes and customize everything.
Our developer, Viktor Holik, has created a tutorial to guide you through the process of building a custom marketplace using this marketplace platform.
By the end of this video, you'll have a fully functional marketplace with both admin and vendor panels, along with their features.
You can find the transcription of the guide below.
What is Mercur?
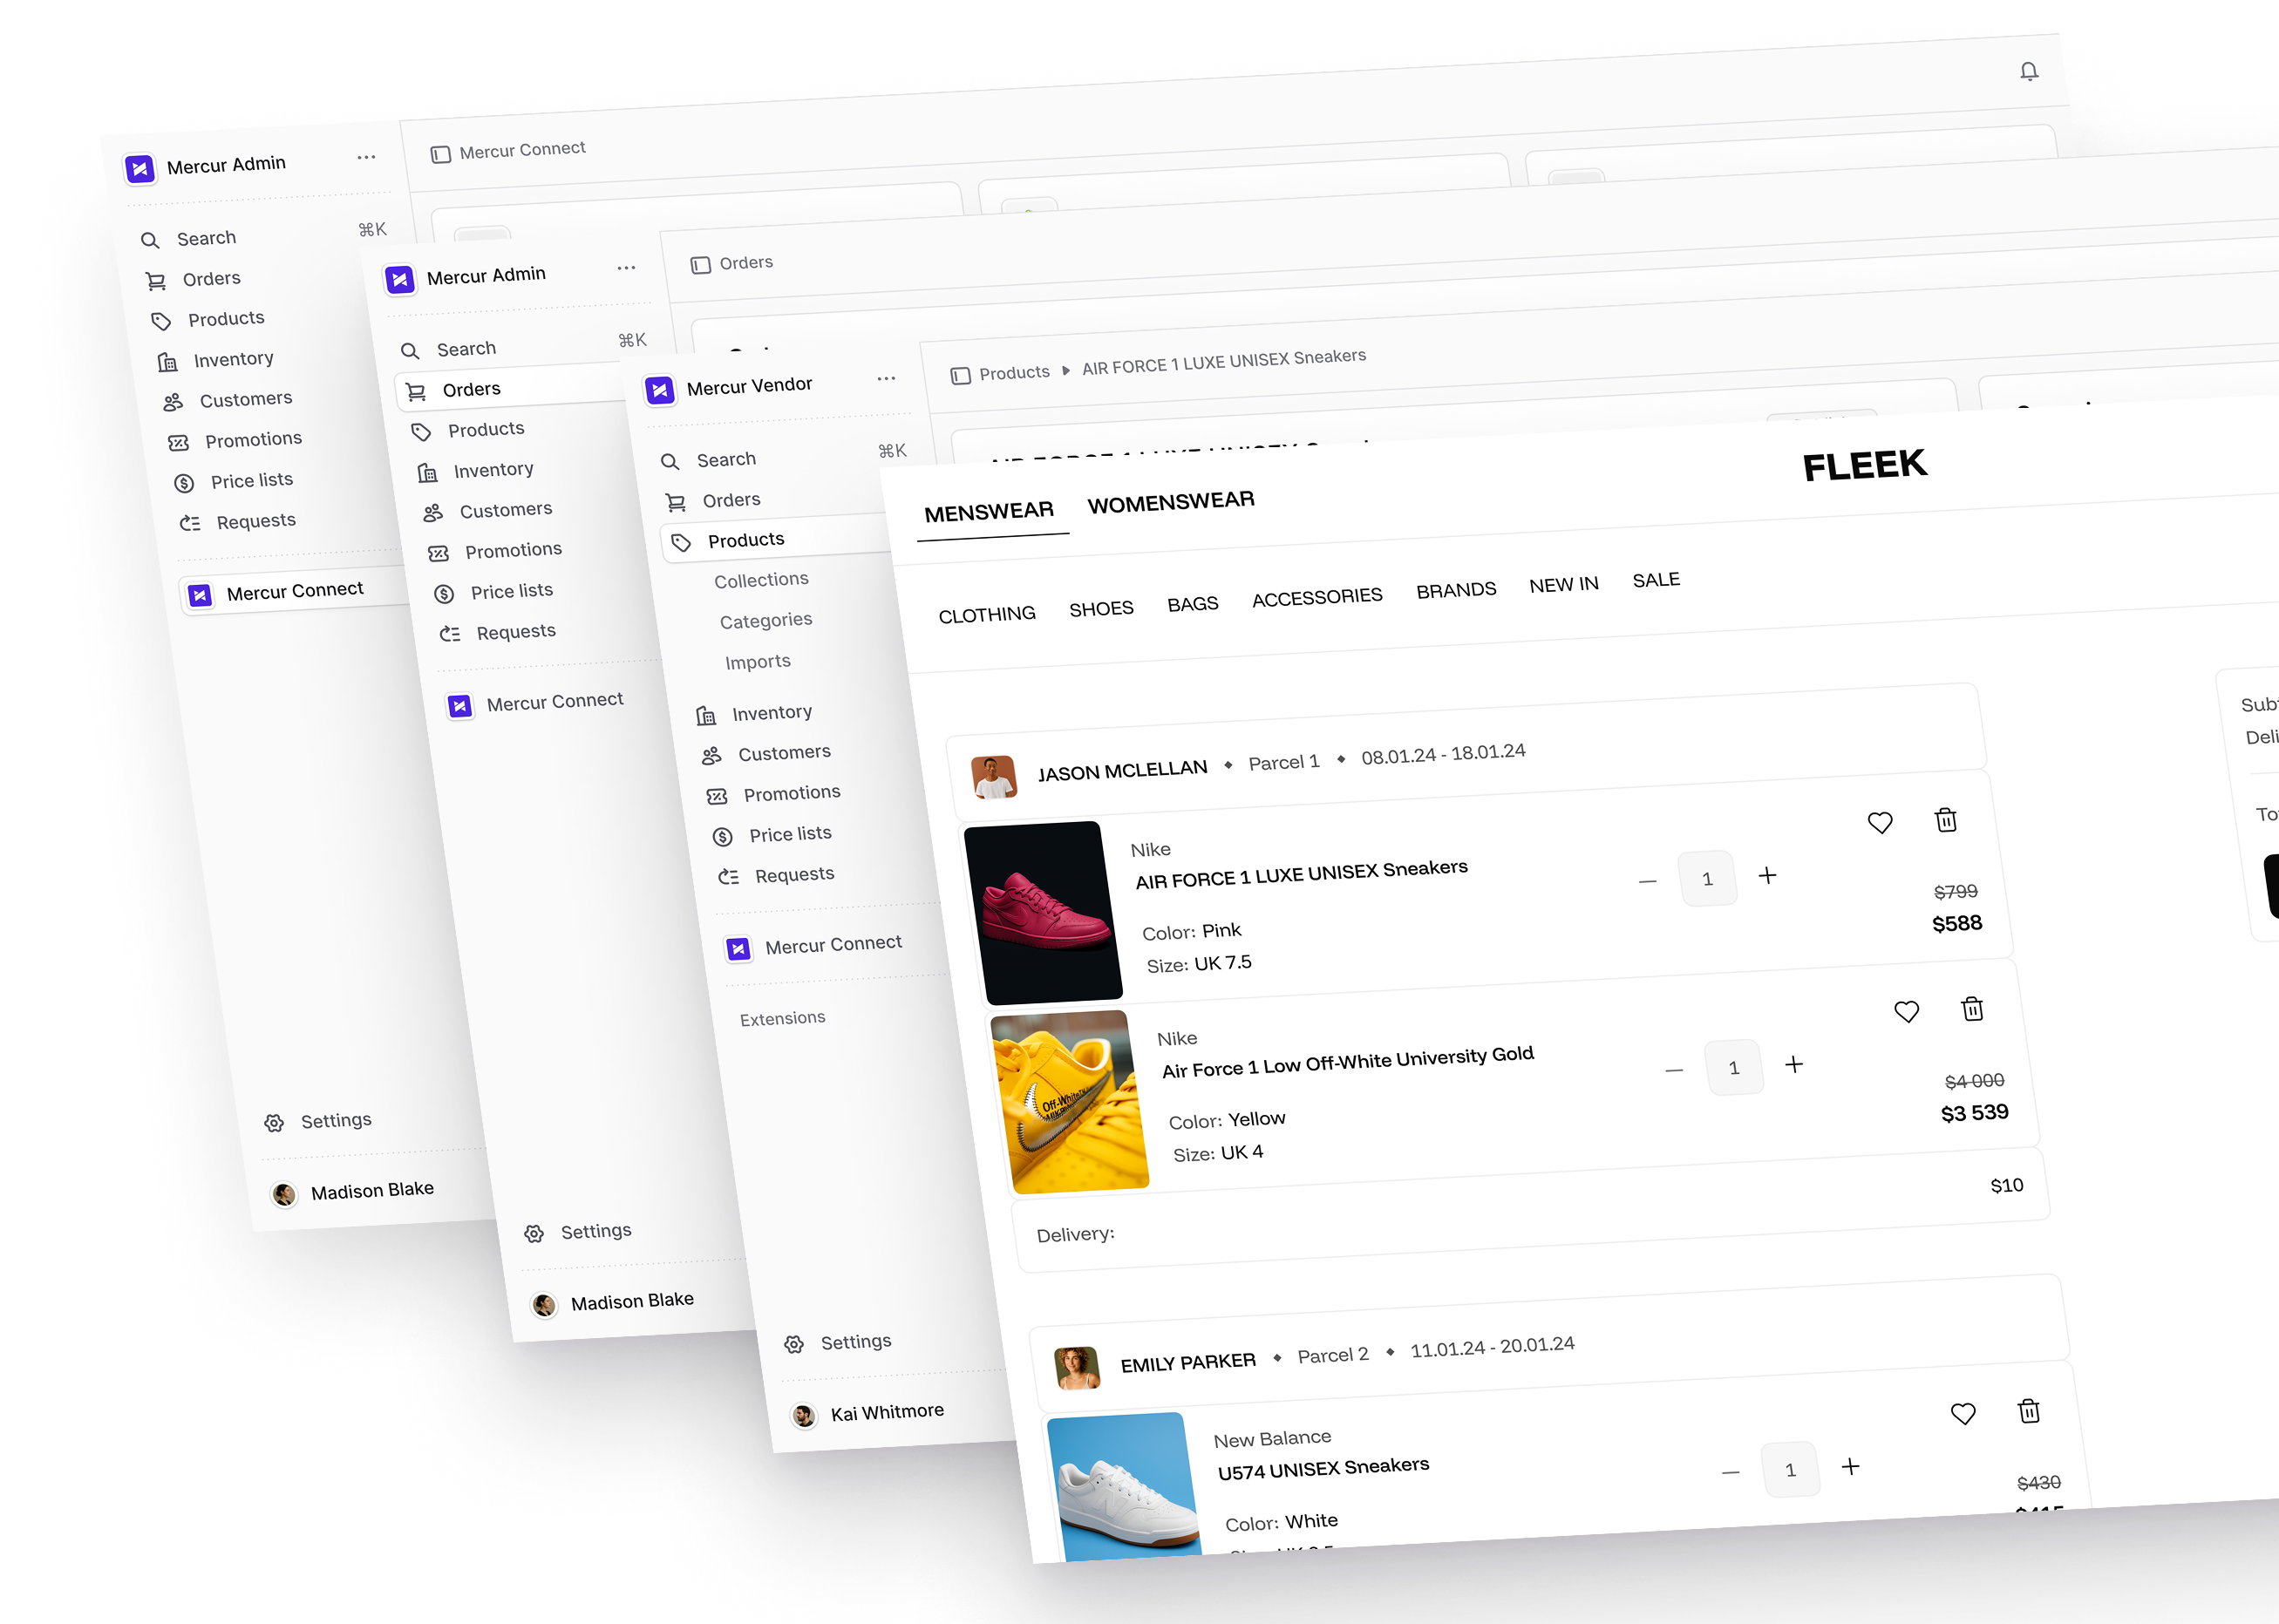
Mercur is an open-source marketplace platform that lets you build and scale your marketplace with modern technologies, all features, and full code ownership. It helps you control your supply, demand, and transactional parts of your marketplace with 50+ independent modules and build-in integrations.
Unlike SaaS platforms that charge per transaction, Mercur gives businesses full control with no transaction fees and no restrictions. It serves as the foundation for your custom marketplace, providing all the business logic you need, while maintaining endless possibilities to expand.
Mercur Marketplace is built on top of Medusa – the world's most flexible commerce platform available as open-source. It’s TypeScript-based, composable by design, and ready for the most complex multiple vendors, B2B, or hybrid marketplace business models.
Video transcription
Hello, guys! My name is Victor. In this video, I'm going to show you how we can start building marketplaces using Mercur.js.
I have prepared some commands to run. We can start by initializing our Mercur.js marketplace starter. We can do that by running npx mercurjs and adding a directory that will be created. This command grabs and copies the code from the repositories and pastes it into this directory. I've already completed this step, so we can skip it.
Next, you can go to the API directory by running cd api and installing your packages.
After installing your packages, you can run yarn build to build your Medusa.js backend in order to be able to run migrations. So let's build it.
The next thing you want to do is to add some default data, like users, regions, and some categories. You can do that by running yarn seed. Before you do that, make sure you comment out the admin panels to avoid any issues with them. So let's run yarn seed.
After running your seed commands, uncomment your admin panel plugins and run yarn dev. This will spin up the admin panel and backend. You should be able to access your admin user by logging in to admin@medusatest.com with the password supersecret. Now, as you can see, you have a fully working admin panel.
The next step is to yarn the vendor panel to register our first vendor user. Log out from the admin panel, create a new tab, and run yarn dev vendor. This will spin up the vendor panel on localhost:7002. Go to the page, register, and create your first vendor user with the email vendor@medusatest.com and the password supersecret.
Now, as you can see, the new user is created but needs to be approved by the administrator. Log in again to the admin panel, go to the users tab, and change the new vendor user's status from pending to active. You can also reject users if you want.
Now log in to the vendor panel. As you can see, we have a fully working vendor panel. If we go to our team, you can see that we are the first in our store.
Let's add a new product. As you can see, the new product has been created, and there's a shipping options widget that I added.
Let's go to our VS Codes. As you can see, we have two new folders: the admin and vendor panel. In these folders, you can create new routes and widgets.
For example, in the admin panel, this user's route was created via the admin folder. We added the config and the page. In the vendor panel, I added the shipping options feature.
The marketplace vendor can add different shipping options based on the product. You can go to settings, then to shipping options, and add options like Express, priced at $25. Go to your products, see the widget, and select the Express option. Later in the product, you should see the shipping options with the values the vendor added.
This should give you an illustration of how to add new admin features and features to the vendor panel. You can create custom plugins and reuse or share them. To add a custom feature to the admin panel, create some routes or widgets in the admin panel. To add features to the vendor panel, add your custom widgets or pages in the vendor folder and use the same inject zones or config.
To sum up
We hope you found Viktor's tutorial insightful and helpful.
Building a marketplace can be complex, but with the right tools like Mercur, you can achieve your goals seamlessly.
If you have any questions or need further assistance, feel free to reach out to our team. We're here to help you every step of the way.
FAQ on Mercur
What is Mercurjs?
Mercurjs is an open source marketplace platform designed to help companies create a fully functional multi-vendor marketplace with full code ownership.
It is built on modern technologies and leverages Medusa as its commerce foundation, giving developers and businesses full control over business logic, workflows, and customization. It includes:
- A powerful admin panel and vendor panel.
- Built-in integrations, such as Stripe Connect for payments.
- Full control over storefront, data, settings, and infrastructure.
Mercurjs is ideal for teams that want to scale, customize deeply, and avoid the limitations of most SaaS marketplace platforms.
How much does it cost to build a multi-vendor marketplace?
The cost of building a multi-vendor marketplace depends on the level of customization, features, integrations, and business logic required. Typical cost ranges:
- Marketplace starter: lower cost, faster launch.
- Custom marketplace with complex workflows, vendor logic, and integrations: higher cost.
- Advanced platforms with custom payments, search, inventory systems, and workflows: enterprise-level investment.
The real cost is control, flexibility, and freedom to evolve your platform without vendor lock-in.
What is the best marketplace platform?
There is no single “best” marketplace platform for every business. The best platform depends on your business model, target users, customization needs, and long-term goals.
Most SaaS platforms offer limited customization, restricted access to code and data, and fixed workflows and settings.
A platform like Mercur is often the best choice when you need:
- Full control over admin and vendor panels.
- Custom features, workflows, and integrations.
- Full code ownership.
- Ability to support complex multi-vendor, B2C marketplace, or hybrid models.
For companies that want to build, customize, and scale without platform limitations, an open and flexible commerce platform is usually the best long-term solution.
What is a marketplace platform?
A marketplace platform is a commerce platform that enables multiple vendors to offer products or services to customers within a single store.
A fully functional marketplace platform typically includes:
- Admin panel for managing users, vendors, data, categories, and settings.
- Vendor panel for sellers to manage products, inventory, services, and orders.
- Storefront integration for buyers.
- Features for search, workflows, and business processes.